Glass Kitchen Splashbacks
Kitchen Glass Splashbacks in all of Emily's Artwork are now available to order online today.
Emily Ward Art - Splashbacks
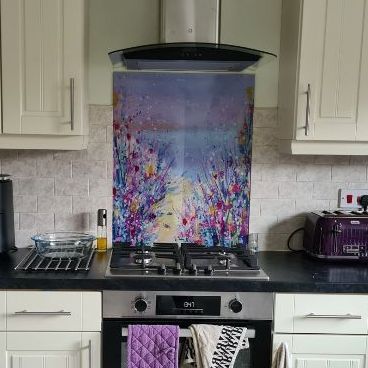
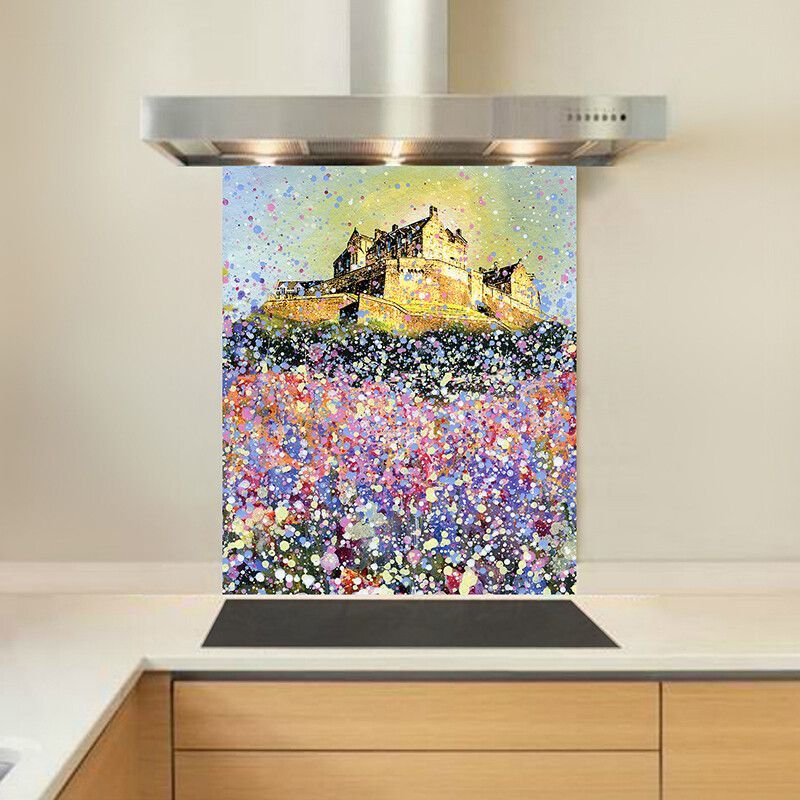
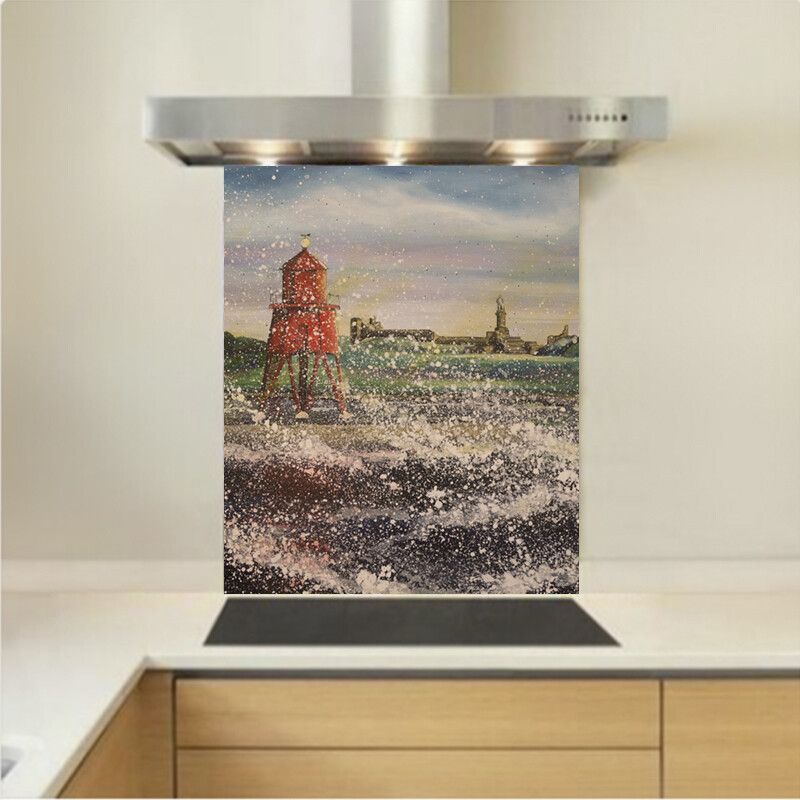
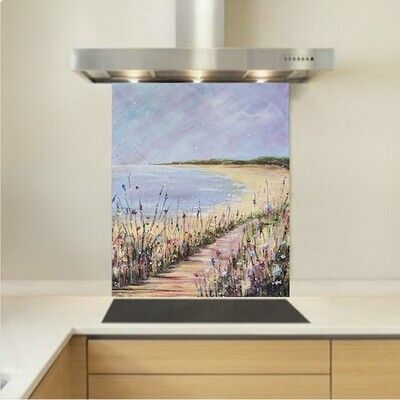
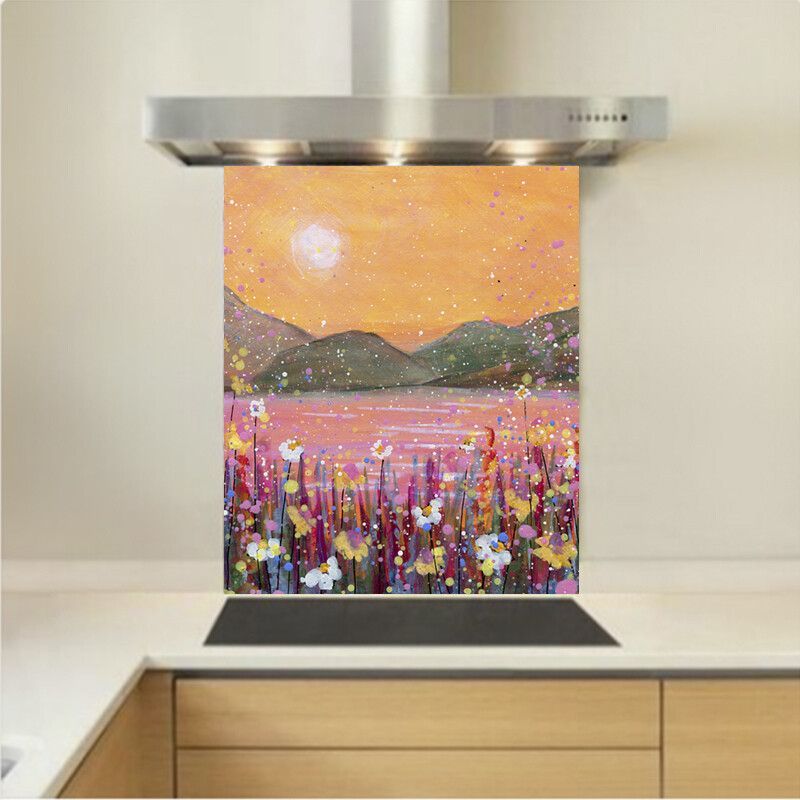
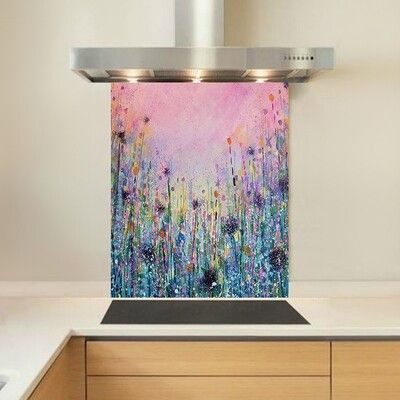
Enhance the aesthetics of your kitchen effortlessly with an Emily Ward Art Kitchen Glass Splashback.
Our glass splashbacks can be customised with one of Emily's unique images to fit almost any size.
Crafted from 6mm toughened glass with a 1.5mm bevelled edge, our Cooker Glass Splashbacks feature digitally printed designs that are both durable and stylish. Each piece is made to order in the UK and can withstand temperatures exceeding 400°C.
Prices for these exquisite splashbacks start at only £170 for a 600mm x 600mm size.
Kitchen Splashbacks Designs
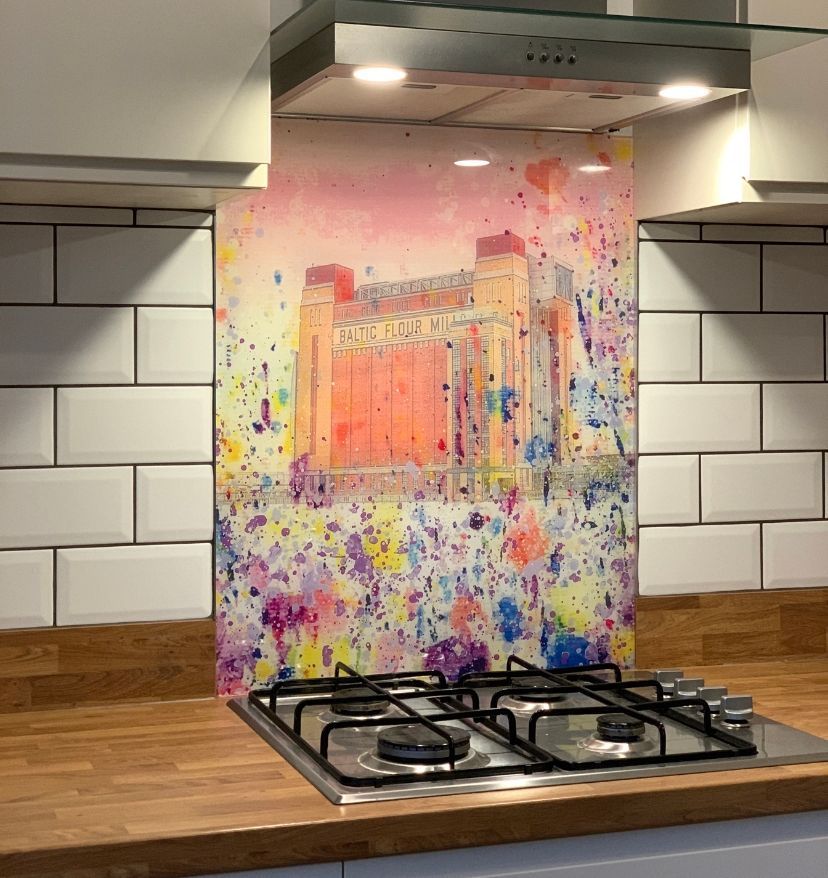
Building upon the success of Emily's early creations, her collection has now grown to over 200 images that cover selective art subjects as well as captivating UK landscapes and landmarks. You can order a splashback in all of Emily's artwork.

Benefits of Glass Splashbacks
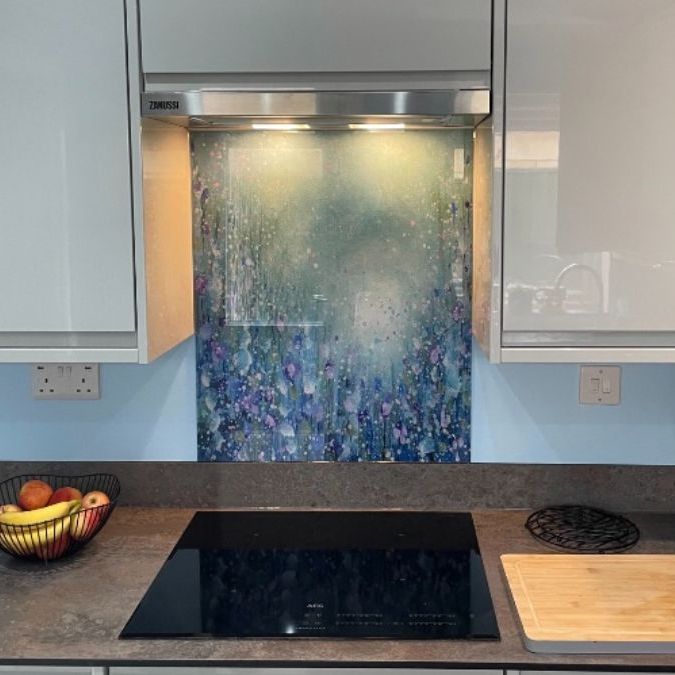
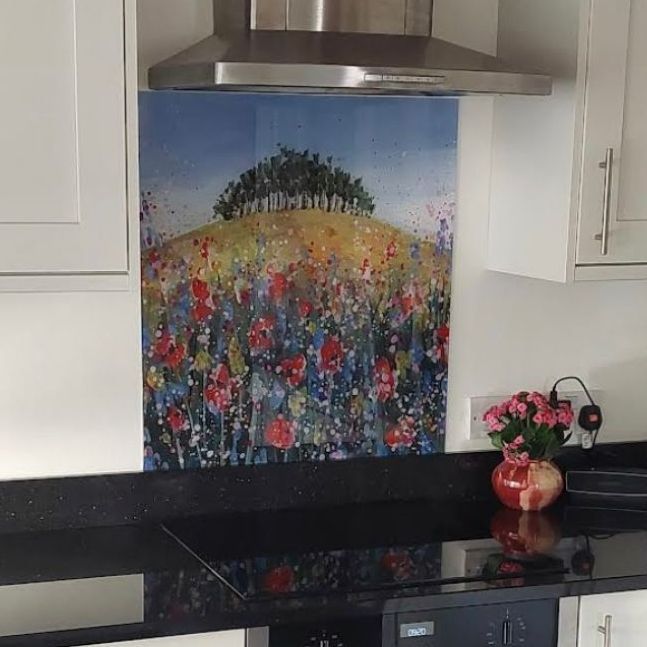
The glass kitchen splashback has become a popular choice for modern homeowners looking to add a touch of elegance and style to their kitchen. With sleek, seamless design and customisable options, glass splashbacks offer a unique way to enhance the visual appeal of any kitchen space. Adding an image to a glass splashback allows creativity and personalisation, making each splashback a one-of-a-kind piece that adds personality to the room.
One of the key benefits of a glass kitchen splashback is its easy maintenance and durability. Unlike traditional tile backsplashes, glass is non-porous and resistant to stains and mould, making it a practical choice for busy kitchens. In addition to being functional, the reflective surface of a glass splashback can also help brighten up the space by reflecting natural light throughout the room. Overall, an art glass kitchen splashback serves as both a stylish design element and a practical solution for everyday cooking needs.
How to fit a Glass Splashback
Installing glass splashbacks is a straightforward process. The following guidelines are suitable for our square or rectangular splashbacks. Tools needed include a silicone gun and the neutral cure silicone provided.
Prepare the wall surface before installing the glass splashback.
Before fixing a glass splashback to the wall ensure that the wall surface is relatively even and free of any obvious bumps and hollows to ensure installation is straightforward. The walls do not have to be perfectly even as a little extra adhesive can be added in hollow areas and less where there may be a slight bump.
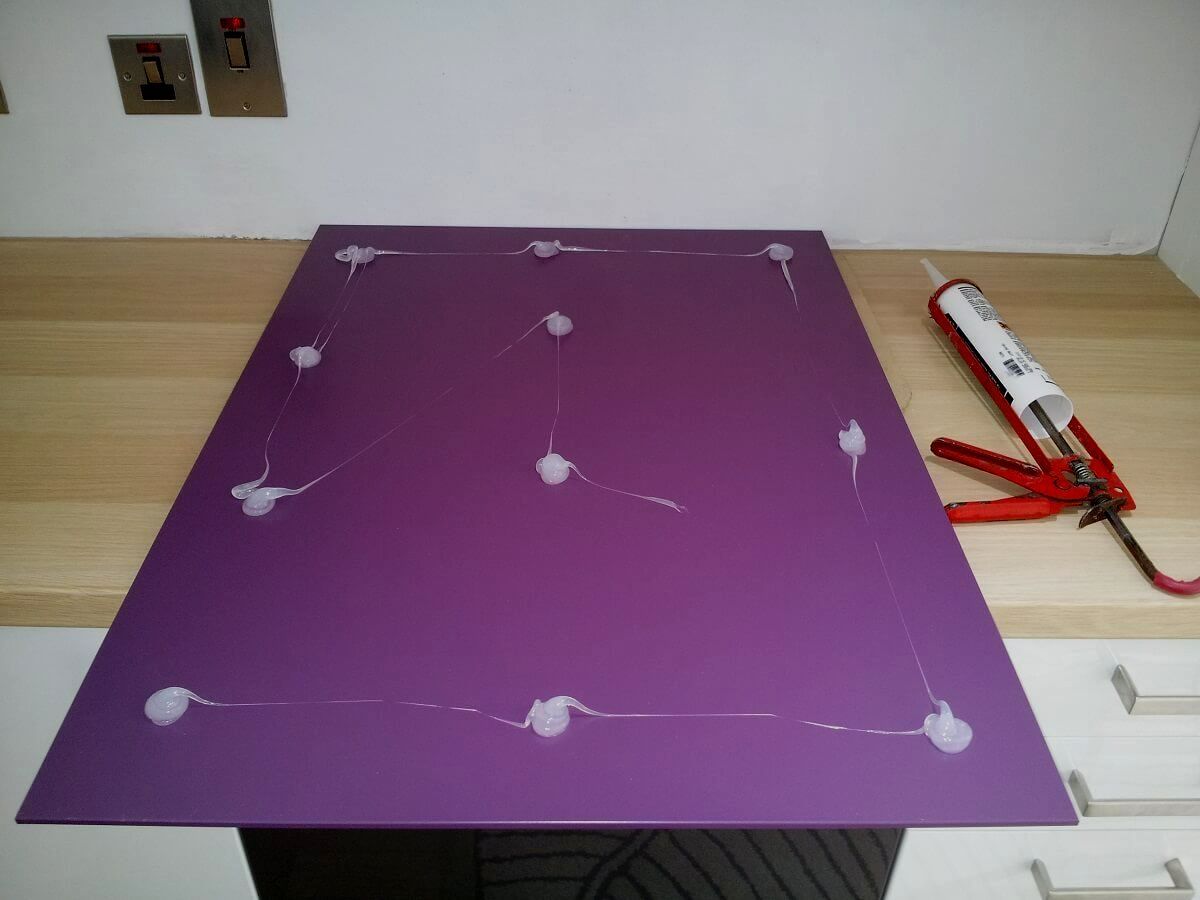
Apply silicone adhesive in 'blobs' on the back of the splashback.
Using the neutral cure, solvent free silicone provided, squeeze out equally sized blobs roughly 20mm about 100mm apart. Be careful not to put any blobs too close to the edge when installing glass splashbacks to ensure a fine fit as the silicone may squeeze over the edge of the glass and make a bit of a mess.
Gently press the glass splashback onto the wall and allow the adhesive to cure.
Simply press the glass against the wall applying pressure over the entire surface of the glass. If at any point the glass feels a little 'bouncy' when pressed against the wall then pull it back off and add more silicone at that point. Leave for 24 hours.
Finally, seal around the edges for a clean finish.
After 24 hours seal using the same silicone as used to adhere. Run a bead of clear silicone around the entire perimeter of the glass panel. Using warm soapy water, spray the silicone and remove the excess with your finger for an even seal.